How To Crop Images On A Hubsppot Blog Post
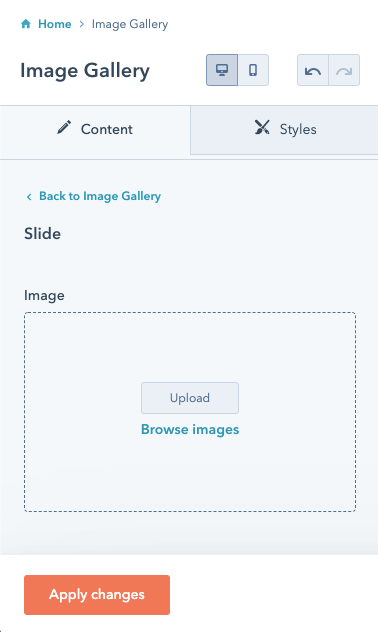
Add an image gallery module to your content to display a rotation of different images. You can add links and captions to images in an image gallery.
Please note: an image gallery module cannot be added to a single blog post. Any image gallery modules added to a blog post template will appear on all blog posts.
Add or edit an image in an image gallery
-
Navigate to your content:
- Website Pages: In your HubSpot account, navigate to Marketing > Website > Website Pages.
- Landing Pages: In your HubSpot account, navigate to Marketing > Landing Pages.
- Blog: In your HubSpot account, navigate to Marketing > Website > Blog.
- Hover over your content, then click Edit .
- In the content editor, click the image gallery module.
- In the sidebar editor, click + Add in the Slide section to add a new slide to the image gallery.
- In the Imagesection, clickUploadto select an image from your computer orBrowse imagesto select an image from the files tool.
-
- To display a caption below the image, click to toggle the Show caption switch on. In the rich text editor, enter the textof the caption.
- To add a link to the image, enter aURLin theLink URLsection.
- To add more images, clickBack to Image Gallery. To finish editing the image gallery module, clickApply changes.

- To edit an existing slide, hover over it and click the pencil icon edit. Click Replaceto select a new image or Remove to remove the image.
- To delete a slide, hover over an existing slide and click the trash icondelete.
- To reorder slides, click a slide, then drag and drop it into place.
- ClickApply changesto see any changes in the content editor.
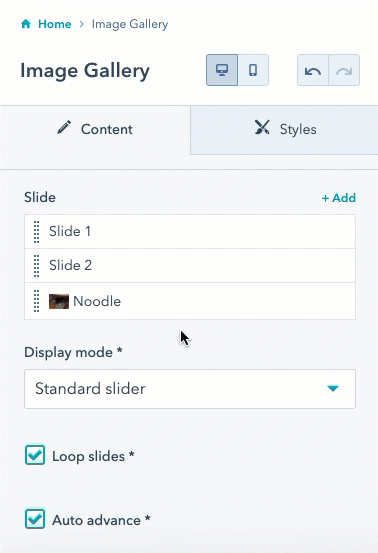
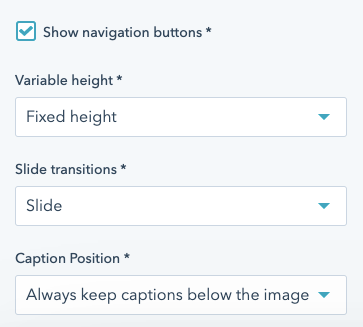
Customize image gallery settings
-
Navigate to your content:
- Website Pages: In your HubSpot account, navigate to Marketing > Website > Website Pages.
- Landing Pages: In your HubSpot account, navigate to Marketing > Landing Pages.
- Blog: In your HubSpot account, navigate to Marketing > Website > Blog.
- Hover over your content, then click Edit .
- In the content editor, click the image gallery module.
- To change how visitors navigate between your slides, click the Display modedropdown menu and select amode:
- Standard slider:visitors will see one slide at a time and can click on left and right arrows to move between them.
- Thumbnail navigation: visitors can click on a thumbnail below the image gallery to display that slide in the gallery.
- Lightbox gallery:visitors can click on the thumbnail version of a slides to open a lightbox where they can navigate between the full versions of all slides.
- To automatically repeat the slides after all of them have appeared, select the Loop slidescheckbox.
- To have the slides automatically progress, select theAuto advancecheckbox.
- In the Time in seconds between auto-scrollingfield, enter thenumber of secondsthat each slide should display.
- To indicate the total number of slides and the number of the current slide, select theShow navigation buttonscheckbox.
- To set the height of the image gallery, click theVariable heightdropdown menu and select asetting:
- Variable height: the height of the image gallery will change depending on the height of the displayed slide.
- Fixed height: the height of the image gallery will always stay at the height of the tallest slide.
- To set the visual effect of the slide transitions, click theSlide transitionsdropdown menu and selectSlideorFade.
- To set the position of captions relative to your slides, click theCaption positiondropdown menu and select anoption.
Landing Pages Blog Website Pages
How To Crop Images On A Hubsppot Blog Post
Source: https://knowledge.hubspot.com/website-pages/edit-an-image-gallery-module
Posted by: brownsheill.blogspot.com
0 Response to "How To Crop Images On A Hubsppot Blog Post"
Post a Comment